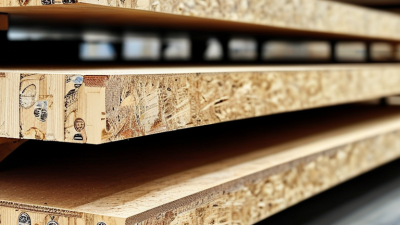
Choosing Building Plywood in 2026 means balancing structural performance, moisture exposure, surface quality, and cost. A panel that looks smooth on a showroom rack may still be wrong for a damp roof or a heavily loaded floor. Details matter. APA’s Engineered Wood Construction Guide explains how panel grades, thickness, and span ratings inform structural use. The USDA Forest Products Laboratory’s Wood Handbook—Wood as an Engineering Material also describes how moisture affects wood’s strength and dimensional stability. These are useful references, but they do not replace project specifications or local building requirements.
Demand makes careful selection practical, not merely technical. The U.S. Census Bureau reported 1,364,100 housing starts in 2024, showing the scale of construction activity behind material choices. For a 2026 project, compare the panel’s grade stamp, intended exposure, thickness, and support spacing—not just its price per sheet. Check the edges for damage, and confirm that the stated rating matches the design documents. A small mismatch can mean uneven flooring, swollen edges, or avoidable replacement. I would not assume that a higher price guarantees a better fit; the right panel depends on its job and installation conditions. This guide looks at the choices that matter, the evidence behind them, and the questions buyers should ask before ordering. Some specifications can be easy to misread, even for experienced teams.
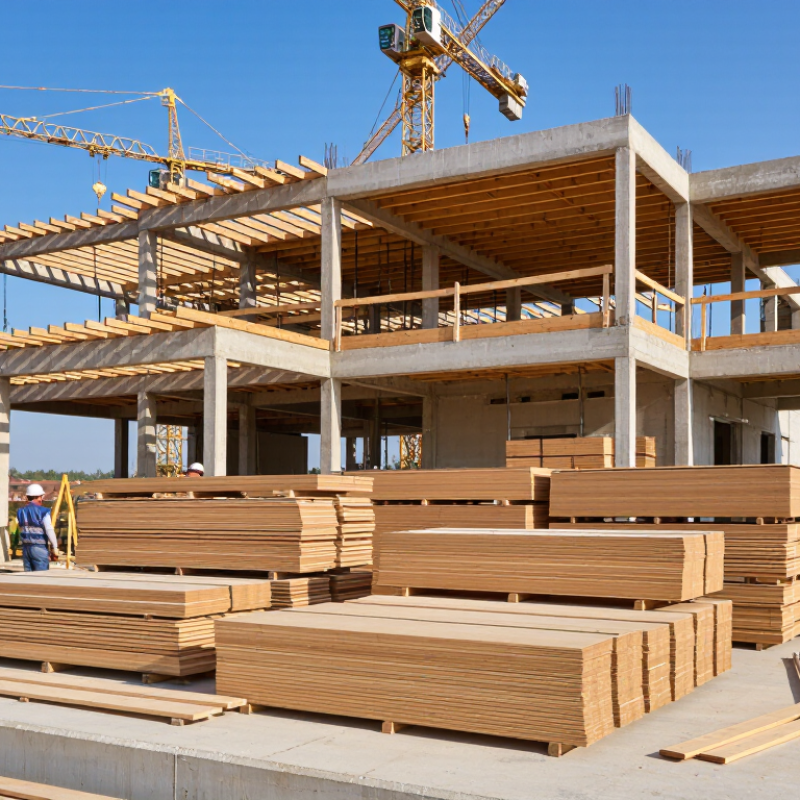
Before choosing a panel, define its job: roof sheathing, wall sheathing, or subfloor. Each sees different loads and support spacing. Match the panel’s span rating to the framing layout, then check the project’s load requirements. A 24/16 rating, for example, indicates roof supports up to 24 inches and floor supports up to 16 inches on center; it is not a thickness label. APA’s Engineered Wood Construction Guide explains how panel ratings relate to intended applications. Measure the actual joist spacing. Guessing can leave a bouncy floor.
Exposure matters just as much. APA classifies Exposure 1 panels for temporary construction exposure, not permanent weather exposure. For repeated wetting, specify Exterior-rated panels and still protect cut edges and unfinished surfaces. The USDA Forest Products Laboratory’s Wood Handbook (FPL-GTR-282, 2021) reports that wood’s fiber saturation point averages about 30% moisture content. That figure is not a safe drying target: prolonged dampness can still invite deterioration. Check drainage, roof coverage, and ventilation before installation. A covered stack can still trap moisture underneath. This is easy to overlook. My own rule is simple: choose for the wettest realistic condition, not the driest day of installation.
Compare the bond classifications by moisture exposure. The bars use a binary key: 1 = Yes, 0 = No.
How to use this: Exposure 1 panels are intended for interior use and can tolerate limited exposure during construction; they are not rated for repeated wetting and drying. Exterior panels use a bond classification designed to withstand repeated wetting and drying, but still require appropriate protection for their specific application. For structural use, also check the panel’s span rating, thickness, support spacing, and local code requirements. Structural I describes enhanced structural performance, not a moisture-exposure classification.
Check the panel stamp and manufacturer’s technical information before installation. Exposure classifications describe bond durability, not suitability for every outdoor condition.
Compare Core Materials, Panel Grades, and Bond Classifications
Choosing building plywood starts with matching the core to the job. Softwood panels are commonly used for framing and sheathing, while hardwood faces can provide a smoother finish for visible interiors. Composite cores may offer a consistent surface, but their weight and screw-holding performance vary. Check the panel edge. Voids or uneven layers can matter when a fixing lands near the edge.
Panel grades describe appearance or structural performance, depending on the grading system. A smooth face may suit cabinetry, but it does not automatically mean the panel is load-rated. Structural grades are better suited to floors, roofs, or walls when specified for the project. Look for grade stamps and confirm what they mean in your region. It is easy to overvalue a clean face; appearance alone tells only part of the story.
Bond classifications indicate how well adhesive bonds tolerate moisture exposure. Interior-rated panels suit dry conditions, while exterior-rated bonds are designed for more demanding exposure. That does not make a panel waterproof. Not always. Check the product data sheet, thickness, and installation requirements, especially for edges exposed to rain. A small detail, such as sealing a cut edge, can affect long-term performance. When uncertain, compare the panel specification with the project plans before ordering.
Plywood selection starts with what the panel must support, not a single “standard” thickness. For floors, roofs, and wall sheathing, check the required panel grade, thickness, and span rating against the framing layout. A span rating applies to specific support spacing and installation conditions; it does not guarantee identical performance in every assembly. Follow panel markings and current manufacturer tables, and confirm project requirements with a qualified designer or local building official. Panel orientation matters too. Install the strength axis across supports when specified, and use the required edge support and fastening schedule.
Tips: Measure joist or rafter spacing on site, then compare it with the panel’s marked rating. Don’t assume thicker is always better. The wrong grade or an unsupported edge can still cause bounce or sag.
Moisture exposure deserves equal attention. Choose panels rated for the expected conditions, and protect their edges during storage and construction. If a floor feels springy, inspect spacing, blocking, fasteners, and subfloor layers before simply adding thickness. It is tempting to choose by thickness alone. That can waste material or miss the actual weak point. Check the panel markings before cutting; correcting a mismatch after installation is harder.
In 2026, start with the panel stamp, not the price tag. For structural work, check whether the plywood complies with the applicable PS 1 or PS 2 standard, then match its grade, thickness, and span rating to the drawings. APA’s Engineered Wood Construction Guide explains that a 24/16 span rating corresponds to roof supports spaced up to 24 inches and floor supports up to 16 inches, under stated design conditions. That small stamp carries real weight.
Moisture exposure needs equal attention. “Exposure 1” panels tolerate temporary construction moisture; it does not mean permanent outdoor use. For exposed conditions, confirm the product is marked for exterior use and follow the installation instructions. The USDA Forest Products Laboratory’s Wood Handbook documents how moisture affects wood properties and performance. Keep the paperwork, too: request the product data sheet, compliance statement, and traceable mill or lot information. A neat label is useful. It is not the whole file.
For indoor projects, verify emissions claims against the relevant product category and local requirements. The U.S. EPA’s TSCA Title VI rule sets a formaldehyde limit of 0.05 parts per million for hardwood plywood. Check that the label identifies the product as compliant and includes required third-party certification details. Don’t assume every plywood panel falls into that category. I would still compare the stamp with the invoice; paperwork can be imperfect.
Before purchase, inspect each panel in good light, not just the top sheet of the stack. Look for open knots, splits, bubbles, or patches that may lift. Check the edges for gaps between plies, crushed corners, and layers beginning to separate. Run a hand over the surface; raised grain can mean extra sanding or finishing work.
Set a few panels on a flat surface and sight along their length. A slight bow may be manageable for some uses, but twist or a pronounced cup can complicate framing. Measure thickness in several places, since damaged edges can mislead. A clean face does not prove structural suitability. Check the grade stamp, thickness, span rating, and exposure classification against the project drawings and intended location. Labels matter.
For damp or exterior locations, confirm the panel’s exposure rating; “water-resistant” does not mean waterproof. Ask the supplier for technical data when markings are unclear, then compare it with the project specification. Store selected sheets flat, fully supported, and protected from rain before installation. Do not guess.
| Check | What to Verify | Suitable When | Warning Signs |
|---|---|---|---|
| Intended application | Identify whether the panel is for roof sheathing, wall sheathing, subflooring, cabinetry, or another use. | The panel’s grade, thickness, bond classification, and span rating match the project plans and applicable building requirements. | Choosing by price or appearance alone without confirming the panel’s rated use. |
| Panel identification | Read the panel grade stamp or product label. Check the standard, grade, thickness, span rating, and bond classification where applicable. | Required markings are legible and can be checked against the project specification or local code requirements. | Missing, unreadable, or inconsistent identification; do not assume an unstamped panel is suitable for structural work. |
| Structural rating and span | For structural panels, verify the rated span and installation orientation. Follow the specified support spacing, fastening schedule, and edge-support requirements. | The rating and installation details meet the design or code requirements for the actual roof, wall, or floor assembly. | Using a panel at a wider support spacing than its rating permits, or treating a face grade as proof of structural capacity. |
| Bond and exposure classification | Distinguish panels intended for interior use from panels classified for limited construction exposure or exterior exposure. | Exposure 1 is used for conditions covered by its classification, including temporary construction exposure; Exterior panels are specified where long-term weather exposure is required. | Assuming Exposure 1 means the panel can remain permanently exposed to weather. No wood panel should be treated as waterproof without an appropriate assembly and protection. |
| Thickness and dimensions | Confirm the stated thickness and panel dimensions against the plans. Common sheet formats include 4 ft × 8 ft, but availability varies by market. | The specified thickness works with the framing, edge details, fasteners, and finish system. | Panels that are visibly bowed, swollen at the edges, or inconsistent with the required dimensions. |
| Surface and edges | Inspect both faces and all edges for cracks, open splits, damaged corners, excessive voids, and surface damage. | Minor cosmetic marks are acceptable for concealed work if the panel remains sound and meets its grade requirements. | Broken plies, large open edge gaps, crushed areas, or damage that could interfere with fastening or load transfer. |
| Flatness and panel condition | View the panel on a flat surface and check for twisting, severe bowing, delamination, or signs of prolonged wetting. | The panel is flat enough for the intended installation and can be stored and installed in accordance with the manufacturer’s instructions. | Separated plies, persistent warping, soft or decayed areas, or visible mold growth. Set aside damaged panels for evaluation. |
| Face grade and finish | Choose the face grade based on the required appearance and finish. Face grades describe surface quality; they do not replace structural ratings. | The visible face is suitable for the planned paint, stain, laminate, or concealed application. | Paying for a high appearance grade where it is unnecessary, or relying on appearance grade to determine load capacity. |
| Storage and delivery | Check that stock is stored flat, supported, and protected from direct rain and ground contact; inspect again after delivery. | Panels remain dry and protected until installation, with handling and acclimation following product guidance. | Stacks exposed to standing water, damaged wrapping, or panels stored unevenly for an extended period. |
| Final purchase check | Compare the delivered panels with the approved specification, required quantities, and local requirements before installation. | Panel markings, condition, and intended use all align with the project documents. | Substituting a different grade, thickness, or exposure classification without approval from the designer or relevant authority. |