How to Build Plywood Projects Step by Step Guide?
Building plywood projects can be rewarding yet challenging. According to renowned woodworker John Smith, “The joy of building plywood lies in the creativity it unleashes.” This sentiment resonates with both professionals and hobbyists alike, as they embark on various projects.
Creating with plywood requires a solid understanding of the material. Plywood is versatile and can be used for furniture, shelves, and even art. However, it’s essential to choose the right thickness and type. Mistakes can happen, like using exterior-grade plywood indoors. These choices may lead to regret during the finishing stages.
The step-by-step approach can clarify the process. With proper planning, measurements, cutting, and assembling, the dream project can come to life. Yet, even experienced builders encounter hurdles along the way. Sometimes, imperfections in cuts or joints become evident after assembly. Embracing these challenges is part of the journey in building plywood. Each project teaches valuable lessons and fosters growth.
Understanding Plywood Types: Choosing the Right Material for Your Project
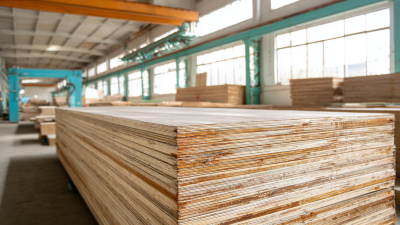
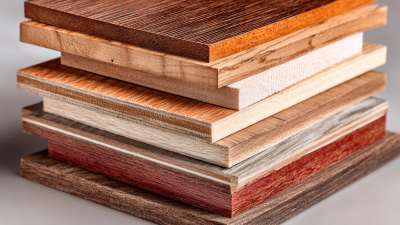
When starting a plywood project, understanding different types of plywood is crucial. Plywood comes in various grades and thicknesses, and each type serves different purposes. For instance, softwood plywood is great for furniture and cabinets, while hardwood plywood is ideal for fine woodworking. If you choose the wrong type, your project may not turn out as expected.
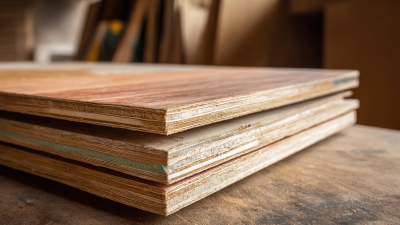
Look closely at the edges. Plywood with voids can lead to weak structures. Weight and durability also come into play. Thicker plywood is more robust but can be harder to work with. Think about your project's requirements. Do you need flexibility or strength? Sometimes, a balance is necessary, leading to unexpected challenges during construction.
Consider moisture resistance too. If your project will be outdoors, choose exterior-grade plywood. Indoor projects may not need this level of protection. Even with careful choices, mistakes can happen. A cut may not align perfectly, or the finish may not look as planned. Embracing these imperfections can lead to creative solutions, enhancing your woodworking journey.
How to Build Plywood Projects Step by Step Guide? - Understanding Plywood Types: Choosing the Right Material for Your Project
| Plywood Type |
Common Uses |
Thickness (inches) |
Durability |
Cost ($/sheet) |
| Birch Plywood |
Furniture, Cabinets |
1/2 |
High |
40 |
| MDF (Medium Density Fiberboard) |
Decorative Panels, Cabinets |
3/4 |
Medium |
30 |
| Pine Plywood |
Construction, Subfloors |
3/8 |
Low |
25 |
| CDX Plywood |
Roofing, Siding |
1/2 |
Medium |
22 |
| Marine Plywood |
Boat Building, Outdoor Furniture |
3/4 |
Very High |
80 |
Essential Tools and Equipment for Plywood Projects: A Comprehensive List
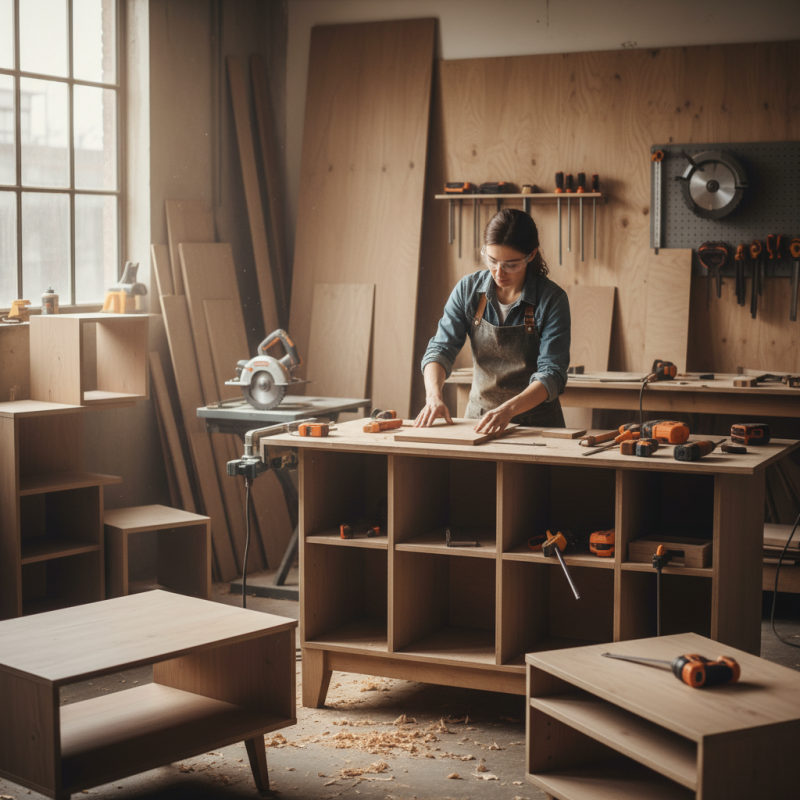
When embarking on plywood projects, having the right tools is crucial. A table saw is essential for making precise cuts. You’ll also need a circular saw for more flexibility. A jigsaw can help with intricate designs. Investing in quality clamps will improve stability during assembly. Don’t forget safety goggles and ear protection; they’re necessary for any woodworking task.
Measuring tools are vital too. A good tape measure ensures accuracy. A square helps with right angles, while a level guarantees your projects are straight. A router can add decorative edges, but it requires practice. Mistakes are part of the learning process. Sometimes cuts aren’t as clean as expected. Adjustments can be frustrating, but they lead to improvement.
In addition to tools, consider workspace needs. A sturdy workbench is invaluable. It provides a solid surface while you work. Adequate lighting also prevents mishaps. You might find that your projects often reveal new challenges. Learning to adapt your approach is part of the adventure. Embrace the process, and don’t fear imperfections. Each project is a chance to grow and create lasting pieces.
Step-by-Step Techniques for Cutting and Shaping Plywood Safely
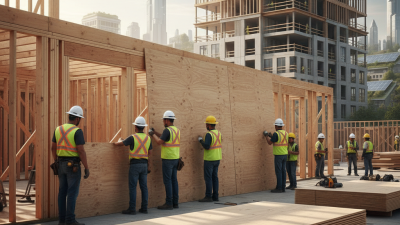
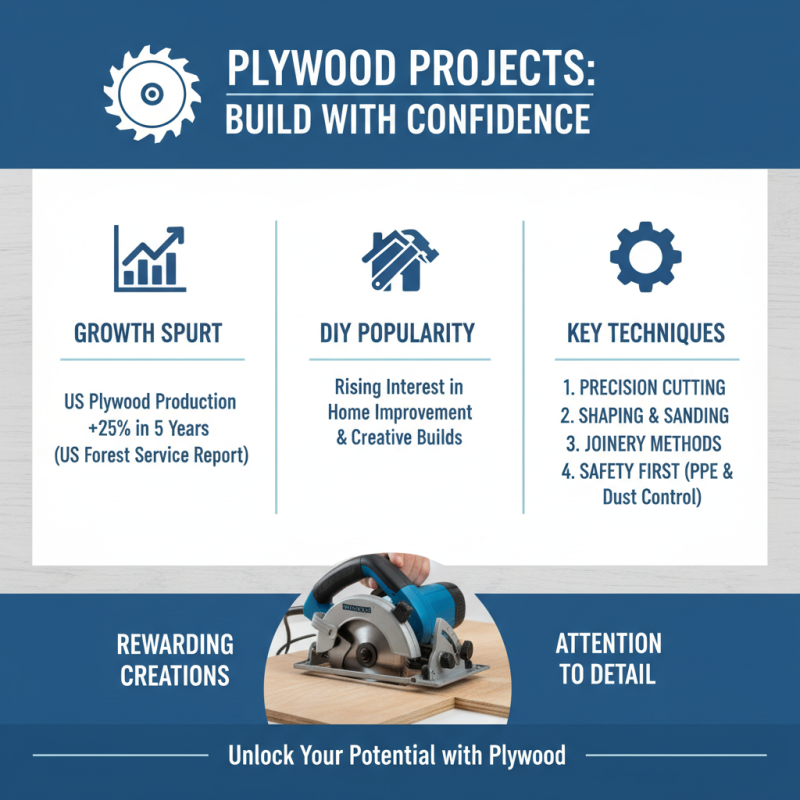
Building plywood projects can be rewarding but requires attention to detail, especially when cutting and shaping. According to a report by the United States Forest Service, plywood production has increased by 25% in the past five years. This growth indicates a rising interest in DIY and home improvement projects. With the right techniques, you can create stunning designs while ensuring safety.
When cutting plywood, always wear protective gear. Safety goggles protect your eyes from dust, while ear protection helps against loud saws. Use clamps to secure the plywood. This minimizes movement during cutting, reducing the chance of mistakes. A straight edge can help guide your saw for clean cuts. Avoid rush; precision is key, as a small error can lead to a poor fit.
Shaping plywood can be tricky. A jigsaw or router can create intricate designs. However, inconsistent speed can lead to uneven edges. Take your time; allow the tool to do the work. Remember, it’s okay to fail. Measure twice and cut once. Reflecting on what went wrong can improve future projects. Embrace imperfections; they are part of the learning process.
Finishing Touches: Techniques for Painting and Sealing Plywood Projects
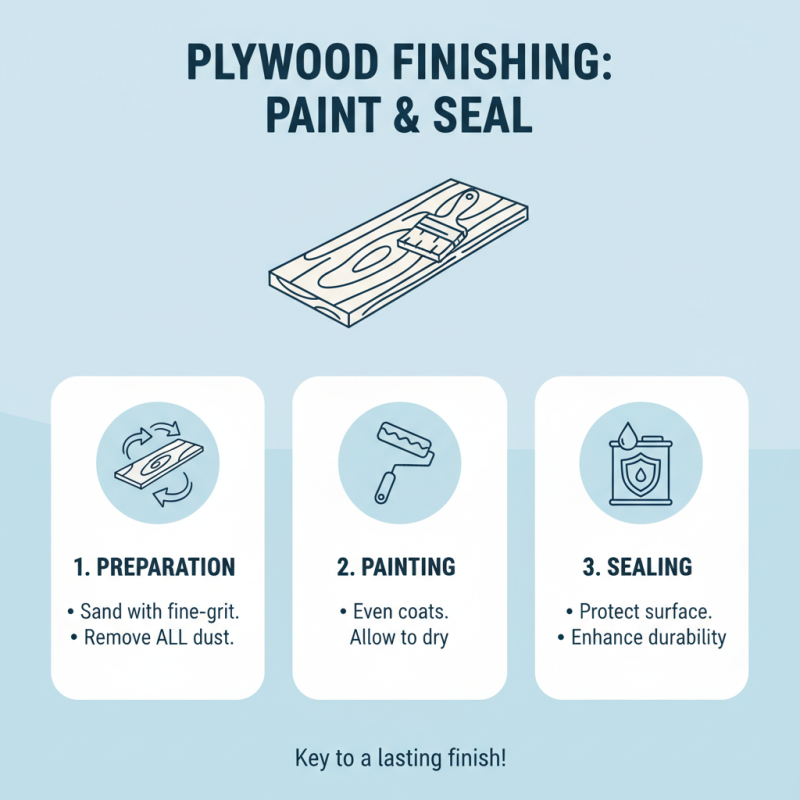
When it comes to finishing touches for plywood projects, painting and sealing play crucial roles. Proper preparation is key. Start by sanding the surface with fine-grit sandpaper. This helps to eliminate any rough spots and ensures an even finish. Dust off the surface afterward, as even the smallest particles can mar the final look.
Next, you may want to apply a primer. A quality primer fills in the wood grain and provides a smooth base for the paint. Use a brush or spray for a more even coat, but remember to be mindful of drips. If you're feeling adventurous, try layering different colors to add depth. Test these colors on a scrap piece first; sometimes, the final outcome can surprise you.
After painting, sealing your project is essential. A good sealant protects against moisture and wear. You can use a clear varnish, polyurethane, or even an environmentally friendly option. Apply multiple thin coats rather than one thick layer. This creates a tougher barrier. You may notice imperfections in your paint job; that's okay. Embracing those quirks gives character to your creation. Take a step back and admire your work, even if it’s not perfect. It’s all part of the process.
Common Mistakes in Plywood Projects and How to Avoid Them
When embarking on plywood projects, many encounter common pitfalls that hinder success. A survey by the Home Improvement Research Institute revealed that 70% of DIY enthusiasts face challenges during their initial projects. This often results from poor planning and execution. For instance, miscalculating cuts can lead to wasted materials and increased costs. Beginners tend to overlook the importance of precise measurements, which can ultimately derail the entire project.
One frequent mistake is the choice of plywood thickness. It’s essential to select the right grade and thickness to match the intended use. Research indicates that using inadequate thickness can compromise the structural integrity of a project. Many projects require ¾-inch plywood for added strength, but some novices default to thinner materials in an attempt to cut costs. Additionally, improper joining techniques can lead to weaknesses later on. Many overlook the necessity of using wood glue alongside screws or nails for maximum durability.
Another common error arises from insufficient surface preparation. Skipping the sanding process can lead to rough edges and uneven finishes. According to the National Wood Flooring Association, proper preparation increases the lifespan of wood projects by up to 30%. Lastly, not accounting for wood expansion can cause issues. Moisture changes affect wood, leading to warping or splitting if not considered early in the design phase. Awareness of these mistakes can be crucial for achieving a successful plywood project.