Essential Tips for Building Plywood That Every Buyer Should Know?
Building plywood is a critical aspect of construction and furniture making. According to renowned expert Jonathan Bradshaw, "Understanding the nuances of building plywood can save time and resources." His insights highlight the importance of knowledge in this field.
Many buyers overlook essential details when selecting plywood. The right type can affect durability, appearance, and cost. Different grades and finishes come into play. Understanding these elements can prevent costly mistakes. Buyers should consider not only the price but also the quality and sustainability of materials.
In a market filled with options, confusion is common. Buying plywood requires careful thought. Often, buyers settle for what's available rather than what's best for their needs. This approach can lead to regrets later. Investing time in learning about building plywood pays off in the long run. Seek advice and consult with experts. Your project deserves the best materials.
Understanding Plywood: Types and Their Characteristics
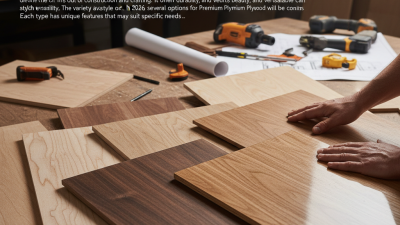
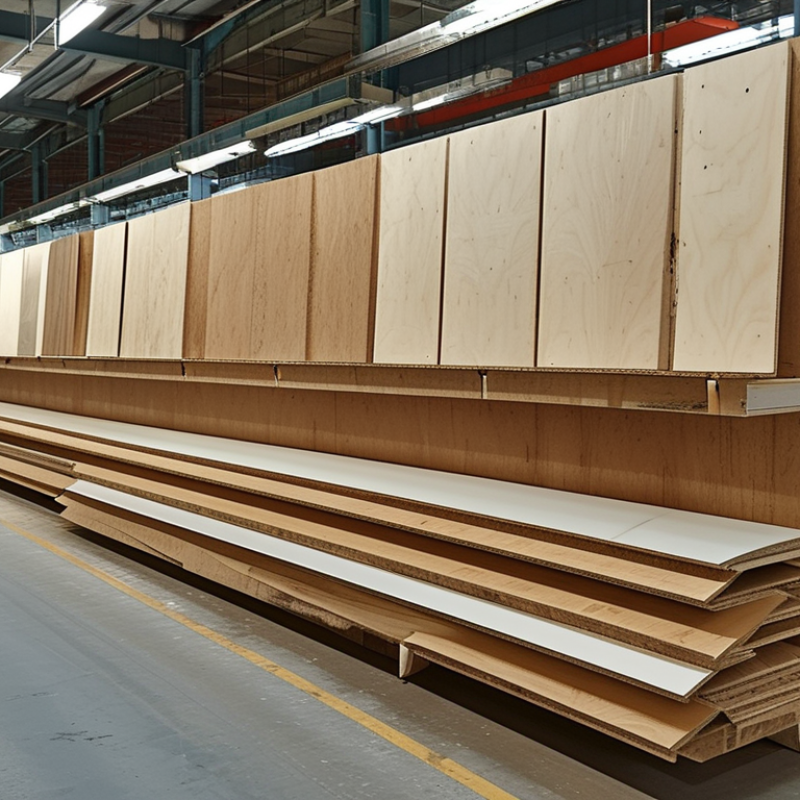
Understanding plywood is crucial for anyone in the market. Plywood comes in various types, each with unique characteristics. For instance, softwood plywood is typically used for construction. Its strength and flexibility make it ideal for structural applications. In contrast, hardwood plywood offers a more refined appearance. It's often chosen for cabinetry and furniture due to its durability and aesthetic appeal.
According to industry reports, the global plywood market is expected to grow significantly, driven by rising construction and renovation activities. The demand for eco-friendly materials is also increasing. When selecting plywood, consider its grade and veneer quality. Higher-grade plywood has fewer defects. This can save costs in the long run, as it requires less finishing and is more durable.
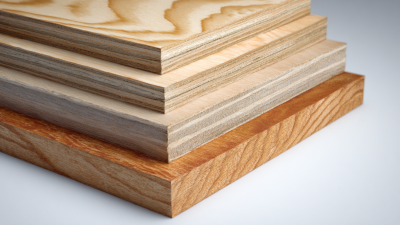
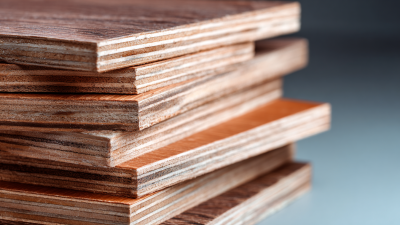
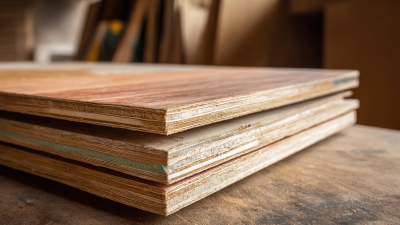
Tips: Always inspect the plywood surface for rough spots. Check the edges to ensure the layers are well-bonded. If you notice gaps or uneven layers, it might be a sign of poor quality. Proper storage is key. If plywood is exposed to moisture, it can delaminate. Lastly, remember that not all plywood is created equal. Research the specific applications to ensure you choose the right type.
Key Factors to Consider When Selecting Plywood for Your Project
When selecting plywood for your project, it’s crucial to consider the intended use. Different projects require different types of plywood. For structural applications, check for strength ratings. If the project is for cabinetry, choose a plywood with a smoother surface. This ensures a better finish when painted or stained.
The thickness of plywood is another key factor. Thicker sheets provide more stability but can be heavier. For DIY projects, a balance between weight and strength is essential. Remember that the layers affect durability. Plywood with more layers typically offers better resilience.
Don’t forget about grade. Higher grades mean fewer defects, but they also come at a premium. If imperfections are acceptable for your projects, saving money on lower grades might be wise. However, this choice could lead to issues down the line if strength is compromised. Reflect on your project needs and budget before making a decision.
Essential Tools and Materials for Building with Plywood
When embarking on a plywood building project, having the right tools and materials is crucial. A sturdy saw is essential for making accurate cuts. Circular and jigsaw options provide precision and flexibility. Pair these with a reliable measuring tape to ensure your cuts are exact. Leveling tools, like a spirit level, help confirm your work is true and square.
Consider the importance of adhesive. Wood glue bonds securely and enhances the strength of your project. Fasteners, including screws and nails, are vital for assembling plywood sheets. Select the correct size to avoid splitting the wood. Don’t overlook sandpaper for smoothing edges; a rough finish can detract from aesthetics.
Plywood's thickness can differ. Thinner sheets are lightweight but may not provide the strength needed for structural integrity. Reflect on your project's demands before making a choice. Mistakes in material selection can lead to frustration and extra costs. Quality apart, keep in mind the skill level required for various tools. Not every novice feels comfortable operating a saw. Acknowledging these challenges can help shape a more successful construction experience.
Step-by-Step Guide to Cutting and Assembling Plywood
Cutting and assembling plywood requires precision and the right techniques. According to the Plywood Association, improper cutting can lead to waste. It’s estimated that poor planning can inflate costs by over 30%. Therefore, careful measurements are essential before every cut. Use a reliable square to establish straight lines and ensure accurate dimensions.
When assembling plywood, consider the edge treatment. Edge banding helps provide cleaner transitions between sheets and enhances durability. Adhering to the correct adhesive guidelines is crucial as well. The choice of glue can affect the overall strength of the structure. For instance, polyurethane glue expands during curing and can fill gaps effectively.
As you work with plywood, some imperfections may become apparent. It’s common to encounter minor warping or knot holes. Evaluating these issues is part of the learning process. Finding creative solutions can enhance your skills. Remember, practice makes perfect. With time, your technique and confidence will improve, leading to better results.
Tips for Finishing and Maintaining Your Plywood Creations
When finishing plywood creations, the right approach is crucial. Start by sanding the surface to ensure it’s smooth. Use fine-grit sandpaper for a polished look. This step removes any rough patches and prepares the wood for finishing.
Choose a suitable finish. A water-based polyurethane enhances the wood's natural grain. Apply thin coats, allowing each layer to dry. This process may seem tedious, but it’s essential. Rushed applications can lead to unsightly bumps and imperfections.
Maintenance is key for longevity. Regularly check for moisture damage. A simple wipe-down with a damp cloth can do wonders. If you notice scratches, use a wood filler to repair them. It's a straightforward task that can improve appearance greatly. Remember, every piece deserves proper care.